Royal icing is a very versatile option in decorating sugar cookies. You’ll be surprised at how many techniques there are in creating unique and beautiful works of cookie art.
Please feel free to use other recipes that you find on the internet, otherwise, my sugar cookie and royal icing recipe can be purchased from the link below.
This tutorial will focus primarily on HOW I MIX my royal icing recipe, the rationale behind every step, and the tips in finding the right consistency of royal icing that you’ll need for cookie decorating.
In making royal icing, there are several recipes that you can use, some have simpler ingredients than others. The recipe depends on the final result that you’re trying to achieve (i.e shiny or matte, soft or hard, with or without flavour). With my recipe, I’ve done several modifications before I found the mixture that I was happy with; it dries with a little shine and it’s semi-soft.
STEP 1:
Prepare and measure all the ingredients needed.
Important tips:
When measuring dry ingredients, it is more accurate to use a kitchen scale.
Use a grease-free glass bowl when mixing royal icing. The presence of oil in any of your mixing tools will make it difficult for your icing to set.
STEP 2:
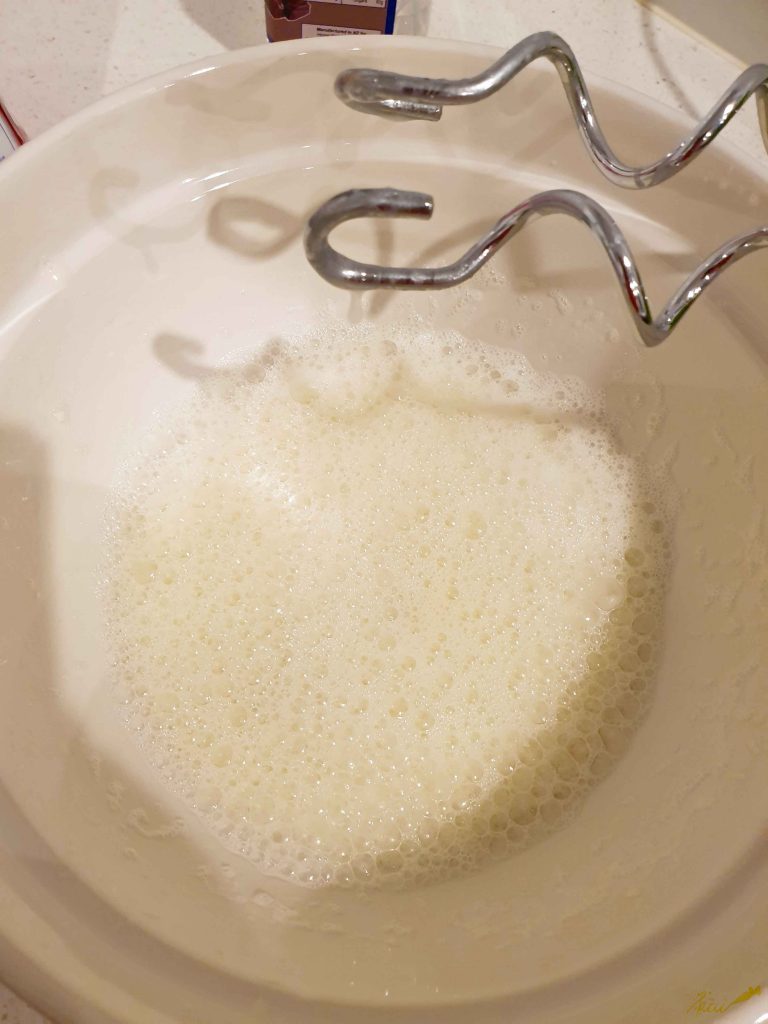
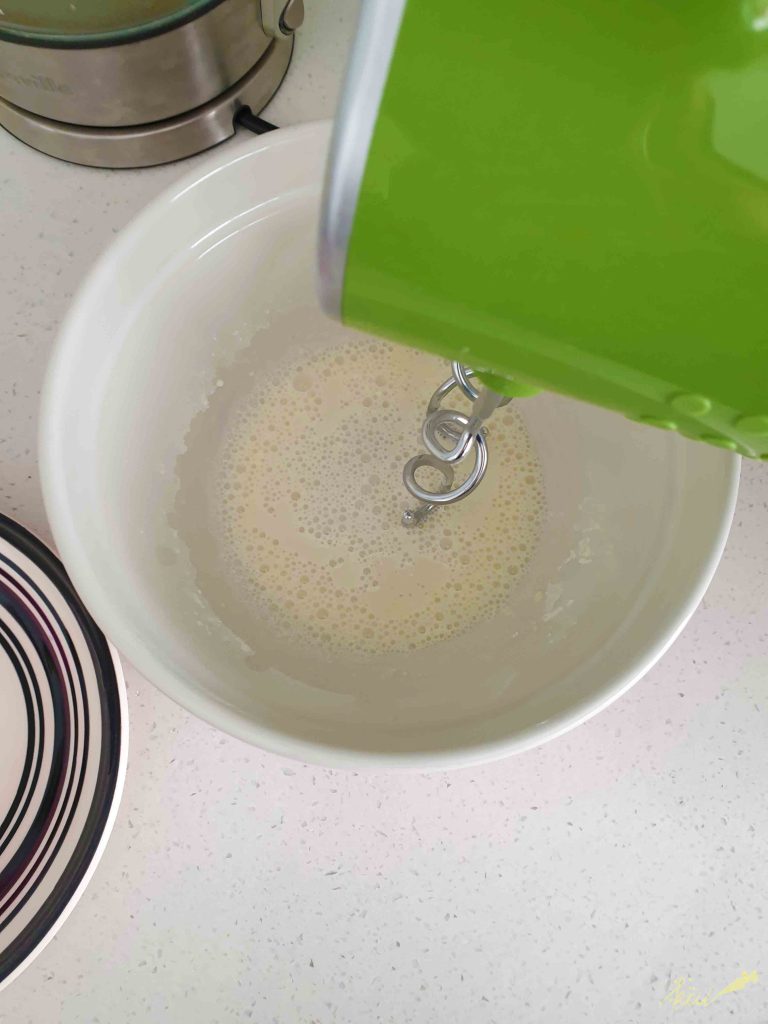
Dissolve the meringue powder in warm water by using your electric mixer or whisk.
Take note that the powder has a tendency to make a mess, so if you’re using an electric mixer, turn it on at low speed.
Mix the meringue powder until all the particles have been dissolved. This process will take approximately three minutes.
Rationale:
Warm water will help in dissolving the meringue powder. Mixing is important because it’ll be easier to incorporate it with the sugar icing. Some people also claim that the overall taste of the icing is affected by the way the meringue powder is mixed.
STEP 3:
Add the sifted sugar icing to the meringue powder mix.
Always make sure that you use sift the sugar icing prior to mixing to avoid lumps on the final royal icing mixture.
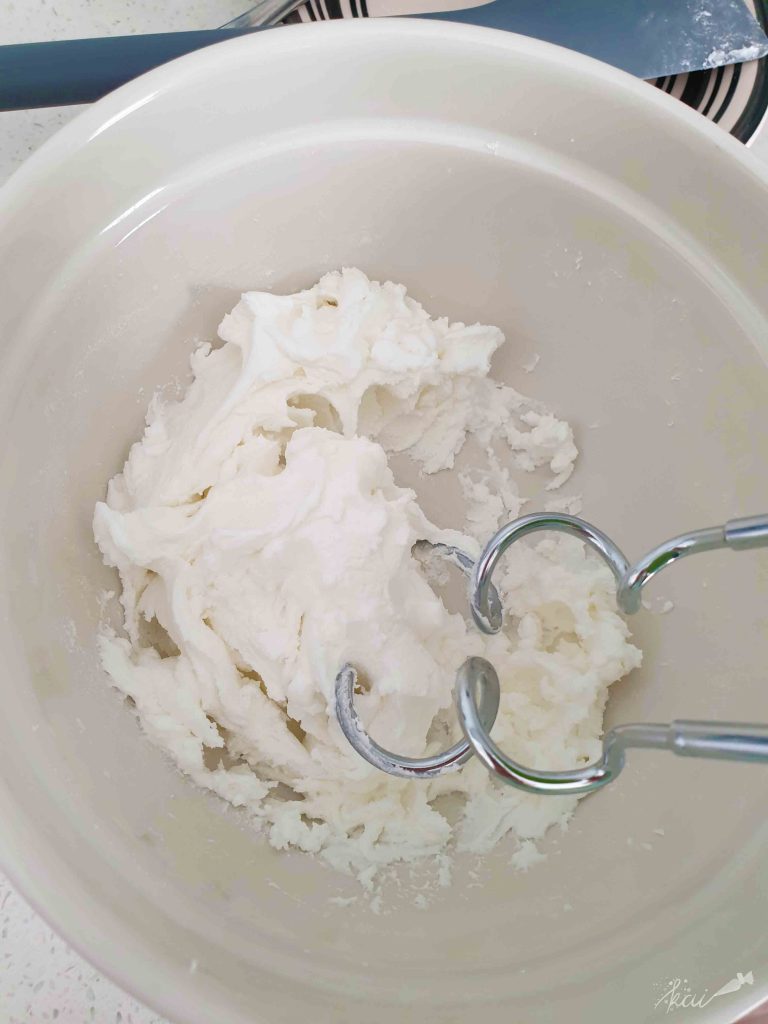
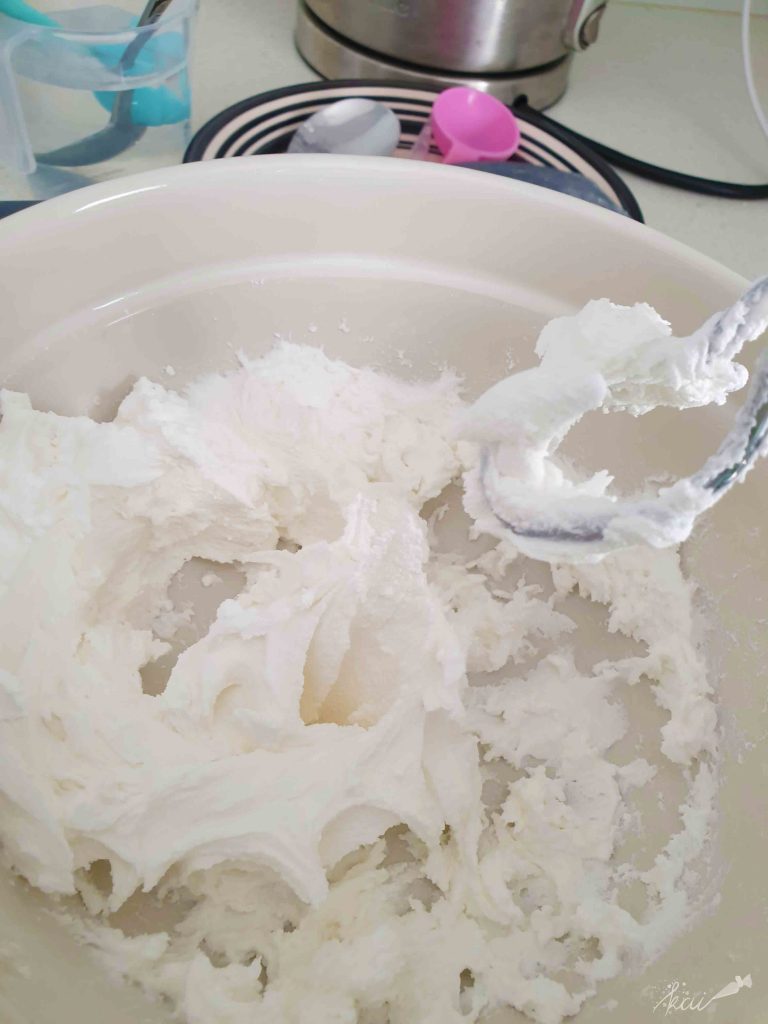
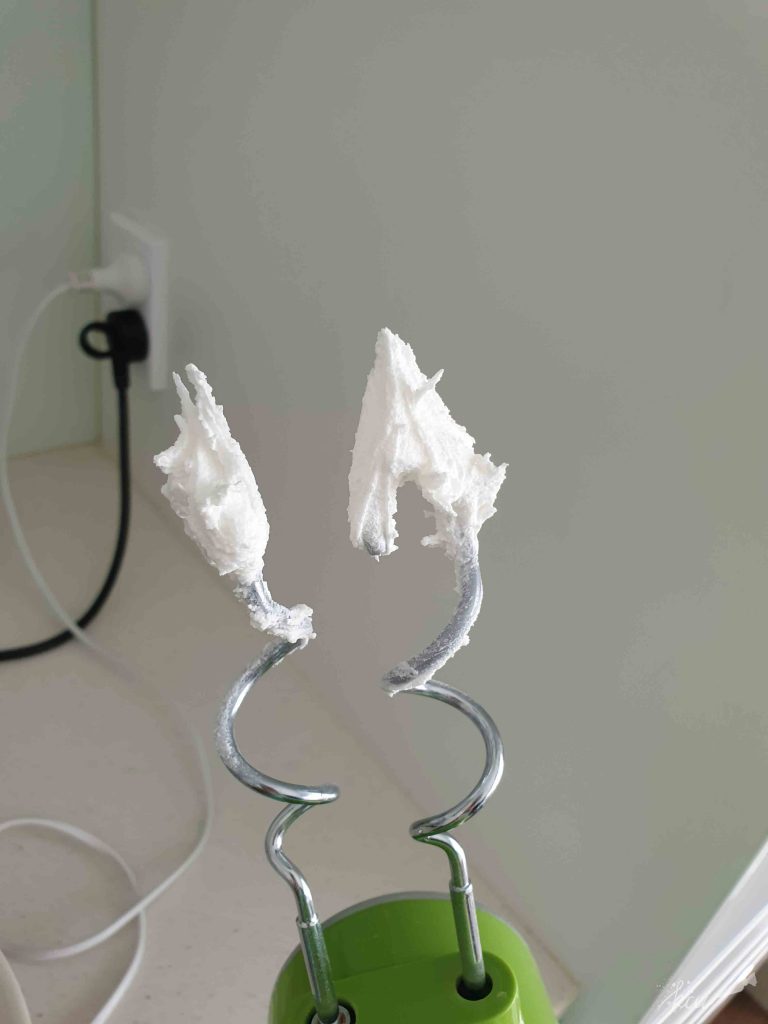
When mixing, you’ll notice that the icing will go through different stages (as shown on the photos below) before you finally the perfect consistency.
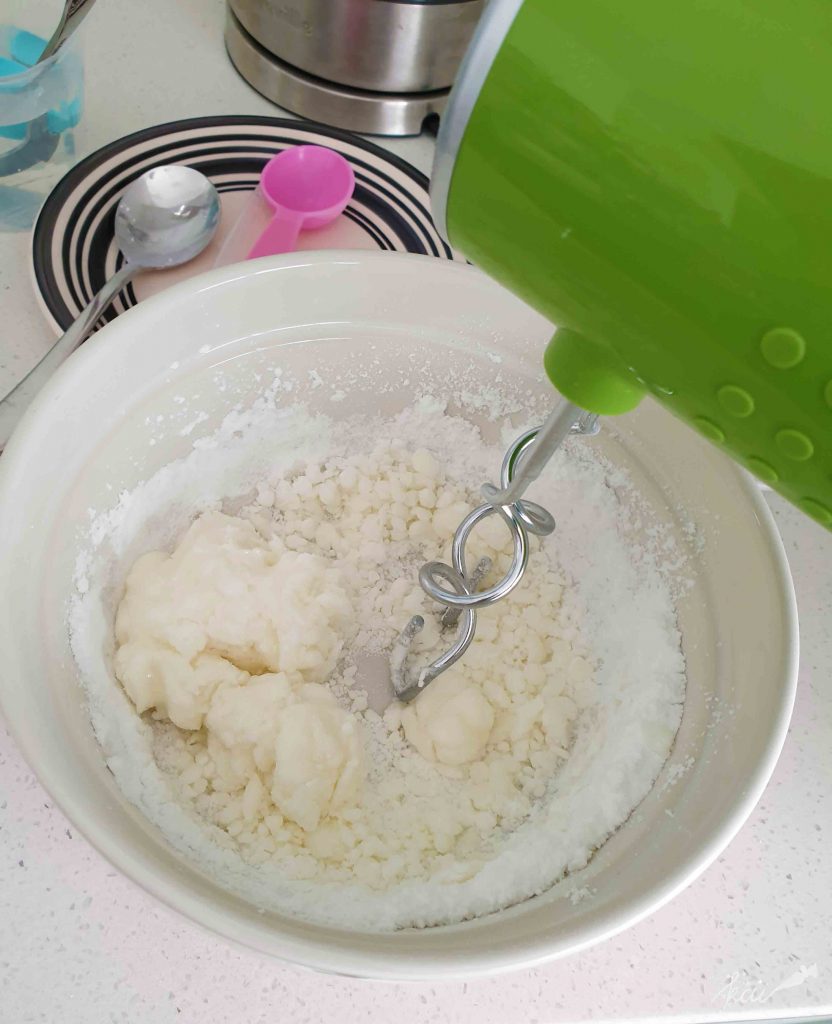
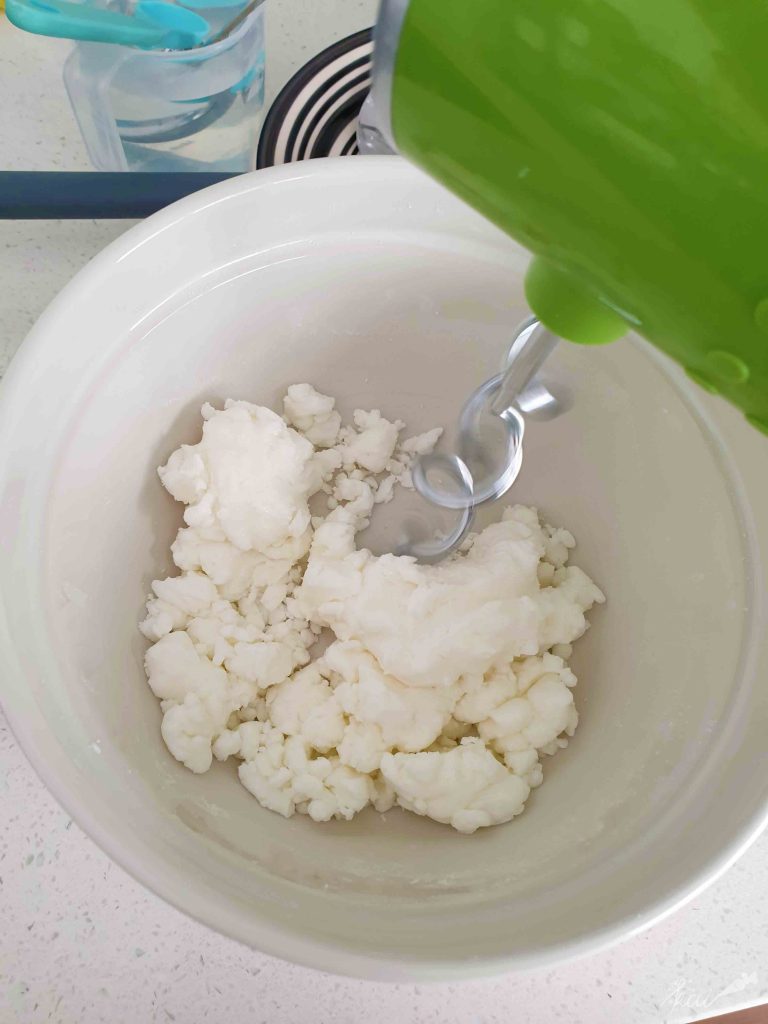
At first the mixture will look very dry. It’ll even form big sugar balls that will look like sprinkles. Do not add more water until all the icing sugar is incorporated in the mixture because this will make the final icing runny.
Continue mixing for 3 to 5 minutes at medium speed until the icing reaches a toothpaste consistency. If you are unsure, lift the paddle attachment and you should see stiff icing peaks.
Rationale:
Continuously mixing the icing will both incorporate the ingredients well and make the icing brighter or whiter.
STEP 4:
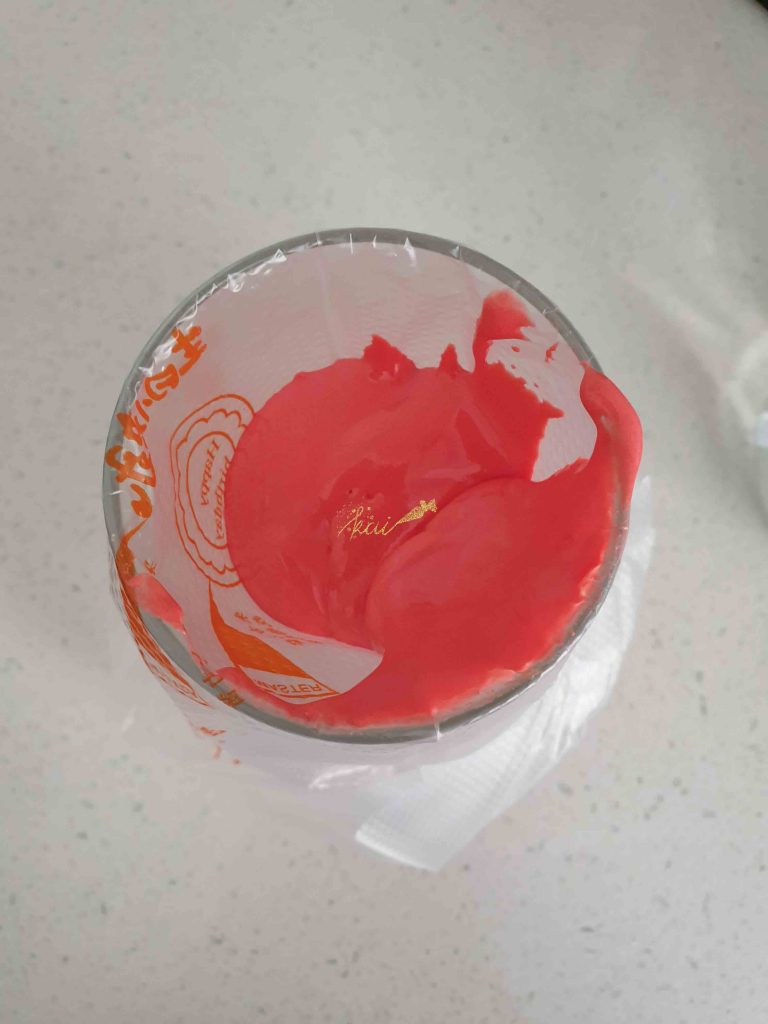
Add the desired gel food color.
Rationale:
I prefer to use gel vs. liquid food color because the former tends to produce a more vibrant color. Also, liquid food color affects the consistency of the icing.
STEP 5:
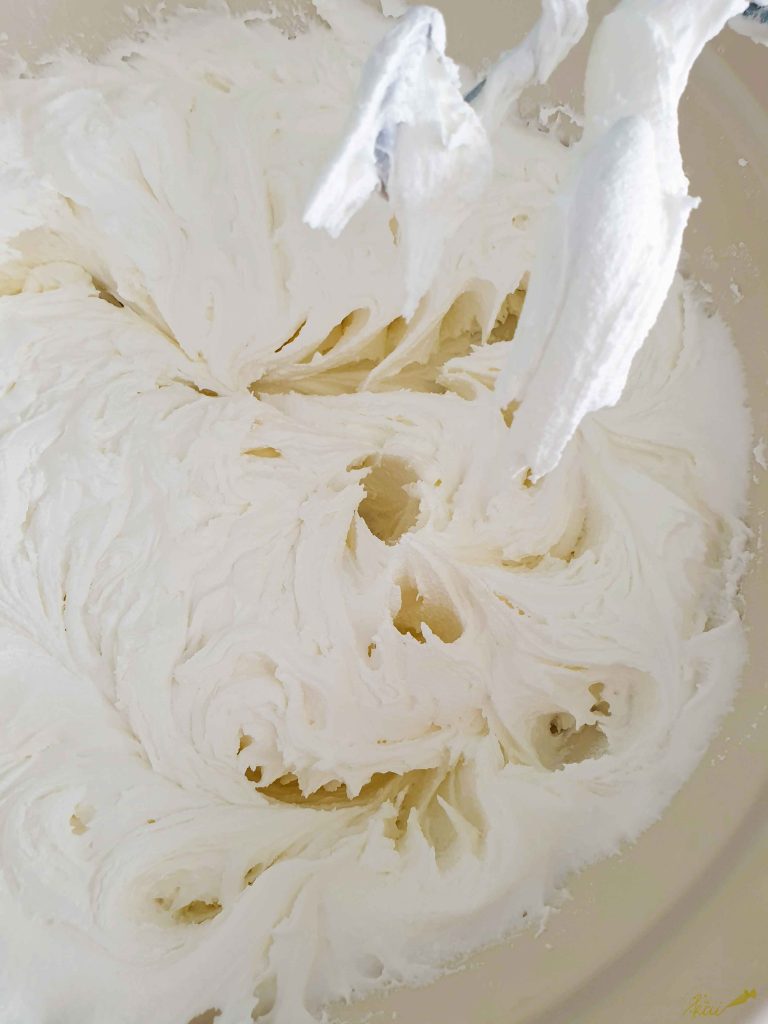
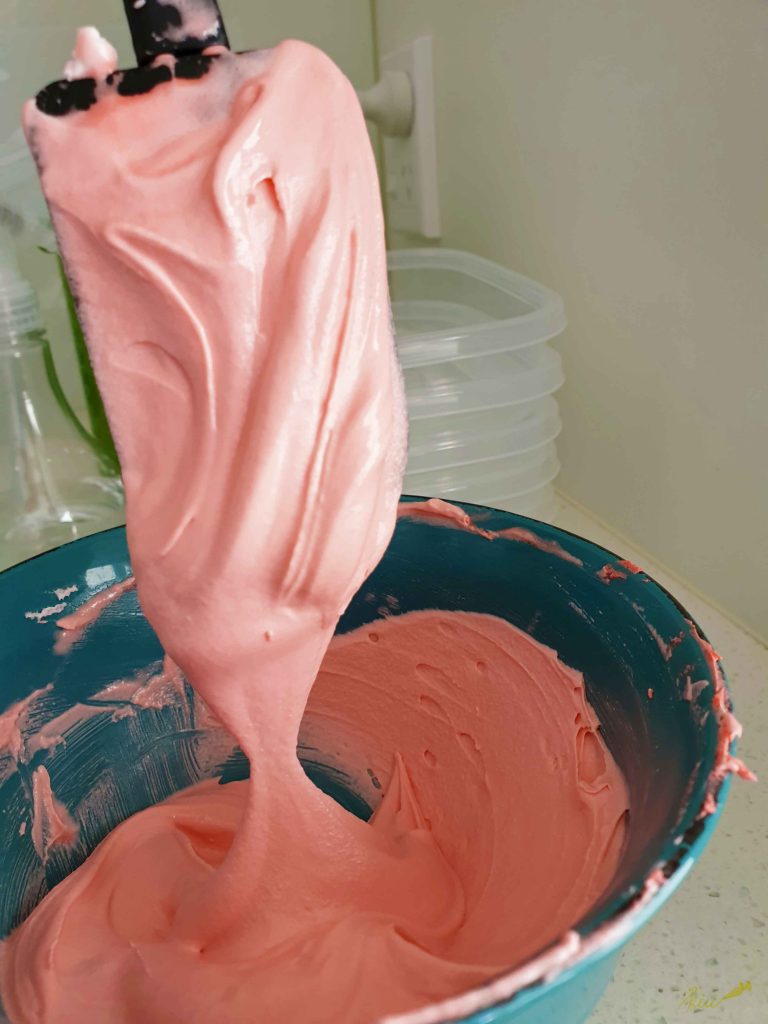
Add water to the royal icing mixture until you reach the desired consistency
Stiff Consistency Icing
15-20 Second Icing
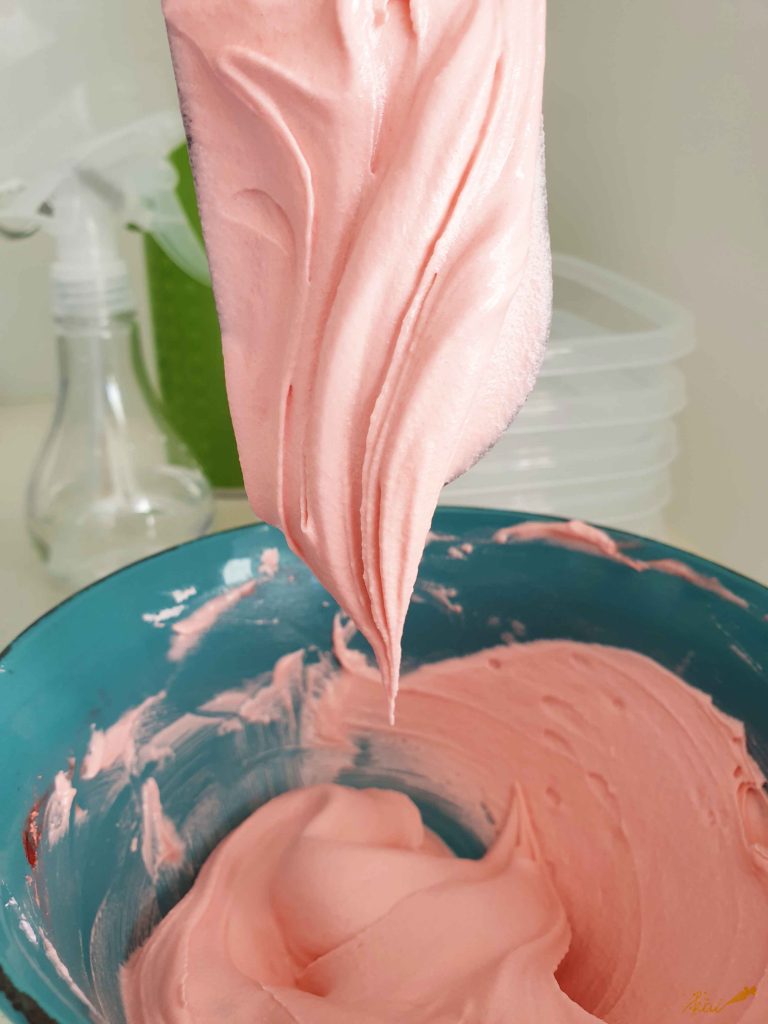
Flood Consistency Icing
Happy Baking!
Kathleen

